Residential computer help
Patient help with computers, Wi-Fi, printers, data transfer, scam cleanup, and setup.
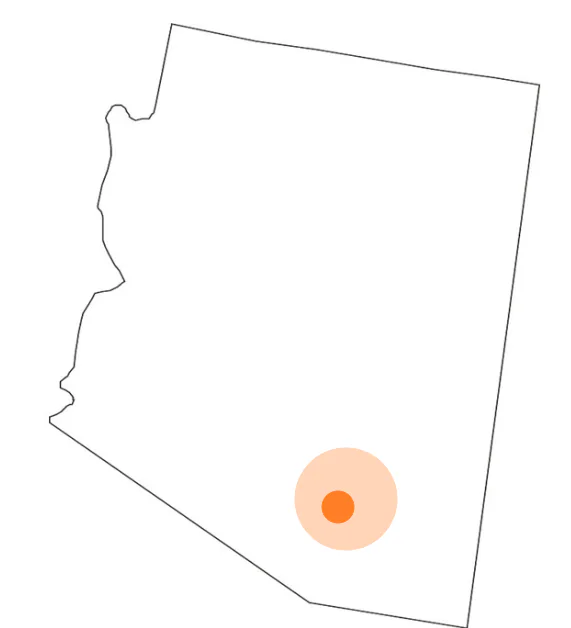
Home supportTucson computer and IT support
Clear, no-judgment support for Tucson homes, remote workers, and small businesses that need technology to work smoothly.
 5-Star Rated
 Patient help with computers, Wi-Fi, printers, data transfer, scam cleanup, and setup.
Home supportPractical support for workstations, cloud tools, backups, networks, vendors, and security basics.
Business supportGet help online when the issue can be handled remotely.
Start remotelyPreventative maintenance and support. Enjoy peace of mind with enhanced security and backup.
View the Care PlanYou do not need to diagnose it first. Start with what you notice, and we will sort it out together.
Call, text, or email in plain language. No perfect explanation needed.
We use the simplest path that gets you moving again.
You get clear next steps before billable work begins.
For many issues, remote support is fastest. For local hands-on help, IT Wes serves the Tucson area.
Short technical notes and safety guidance from the IT Wes archive.
Tell me what is happening, and we will choose the next step together.